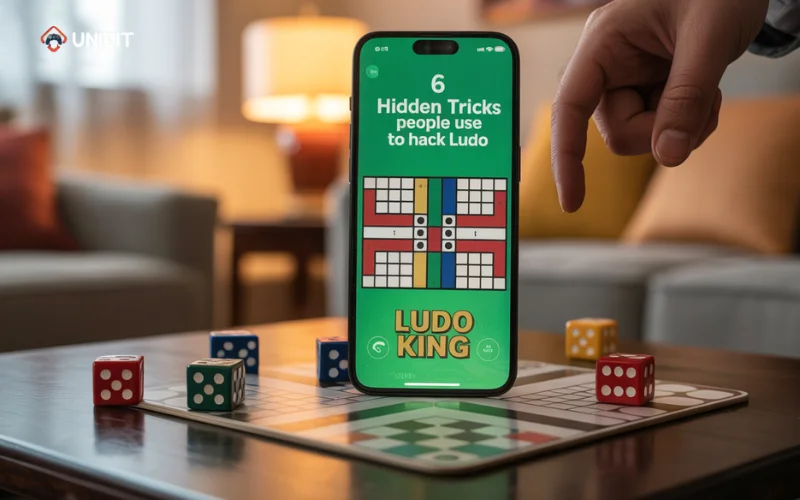
Ludo is one of the most popular board games enjoyed by children and adults alike. Aside from playing it, many people also love recreating the Ludo board through art. If you are interested in creating a fun and simple design, you are in the right place ludo games. This guide will walk you through ludo drawing easy using five straightforward steps. Whether you are doing this for a school project or a fun art session, you can complete a vibrant and neat Ludo board with minimal tools and skills.
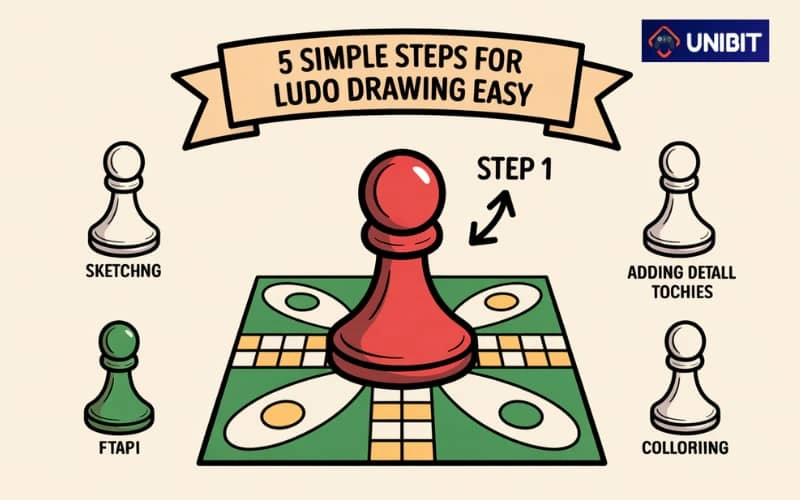
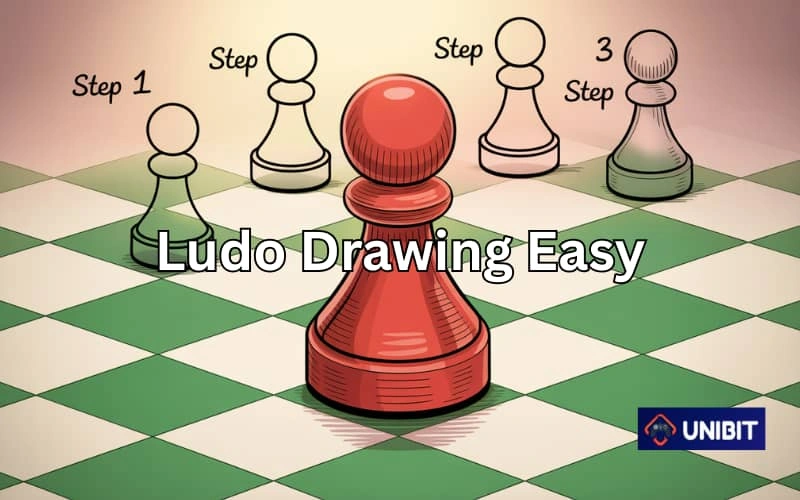
Introduction to Ludo Drawing Easy
Before we begin with the drawing steps, it’s important to understand the structure of the Ludo board. The board is square-shaped and divided into four equal quadrants. Each quadrant represents a different color: red, green, yellow, and blue. . Knowing the layout helps you plan your ludo drawing easy and accurately.
You don’t need fancy tools for this. A ruler, pencil, eraser, colored pencils or markers, and a sheet of white paper will do the job. Now let’s start with the actual drawing process.
Step 1: Outline the Main Square
To begin your ludo drawing easy, draw a large square in the center of your page. Use a ruler to keep the lines straight. The size of the square can vary depending on your paper, but a good recommendation is a 15 cm by 15 cm square for a standard A4 page. This square will be the outer boundary of your Ludo board.
Once you have the outer square, divide it into a 3×3 grid, which will give you nine equal smaller squares. The center square is crucial because it connects all four colored areas.
Now, in each corner of the main square, draw another smaller square to serve as the base for the colored home zones. These are the red, green, yellow, and blue areas. You are now ready to move on to adding the internal details of the board.
Step 2: Create the Colored Zones
The colored zones are the home areas for each player. For your ludo drawing easy, assign each corner one color: top-left for red, top-right for green, bottom-left for yellow, and bottom-right for blue. Use colored pencils or markers to fill in each square with its corresponding color.
Inside each colored corner square, draw four small circles arranged in a 2×2 grid. These represent the starting positions of the player’s tokens. These circles should match the color of their home zone. This helps to visually connect each player’s area to their tokens.
Make sure the inner lines of these zones are neat and colored carefully to give the drawing a clean look. At this point, your Ludo board is starting to resemble the real thing.
Step 3: Draw the Pathways
The pathways are the routes players take to reach the center of the board. These pathways are made up of individual boxes forming a cross through the center square. On each side of the board, mark three vertical or horizontal rows of squares leading toward the center.
For example, the red zone will have three red pathway squares leading horizontally into the center. Repeat this for each color, ensuring that they form a cross around the middle square. Each pathway should consist of six boxes—three on each side of the center square. One of these six boxes should be colored in the respective player’s color to indicate their “safe zone.”
The center square of the board should be divided into four colored triangles. Connect each triangle to one of the colored paths. This central square is known as the “home triangle,” where the tokens must reach to win the game.
This step brings structure to your ludo drawing easy and is essential to complete the board’s functionality.
Step 4: Add Final Details
With the major parts of the board drawn and colored, the next step in your ludo drawing easy is to add some final details. You can outline all the lines using a black pen or marker to make them more visible and give the board a professional finish.
Draw arrows or direction markers on the pathway to show the movement of the tokens. These small arrows help in understanding the direction in which the tokens should move. Most Ludo boards follow a clockwise movement starting from each color’s home base.
If you wish, you can also draw the dice in one corner of your paper. A simple square with dots from one to six can serve as a nice decorative addition to your drawing.
Make sure all colors are well-filled, and there are no blank patches. Erase any pencil marks that are still visible to give your board a clean final look.
Step 5: Review and Present
The final step in ludo drawing easy is to review your work. Take a step back and look at the symmetry, color consistency, and neatness. A well-drawn Ludo board is not only fun to look at but can also be used for real gameplay if drawn on sturdy material like cardboard.
If you’re presenting this as part of an art project or school assignment, you might want to add a label or title at the top of the page saying “Ludo Board Drawing.” This gives it a professional touch and adds context to your artwork.
You can also laminate your drawing or stick it on a hard backing board to preserve it. If you plan to use it as a playable board, consider cutting out matching tokens or using coins or buttons.
With that, your ludo drawing easy is complete and ready to be admired or used for a fun game session.
Conclusion
Following these five simple steps, anyone can achieve a ludo drawing easy with basic tools and a little creativity. Drawing the Ludo board is not just a fun activity but also a way to connect with a game that has entertained families for generations. From outlining the square to coloring the zones and detailing the paths, each step brings the board to life. Whether you’re a student, parent, teacher, or hobby artist, this guide gives you a clear and enjoyable process to follow. Happy drawing and may your Ludo games be full of joy and color.